Blog posts

Research Software in Physics event

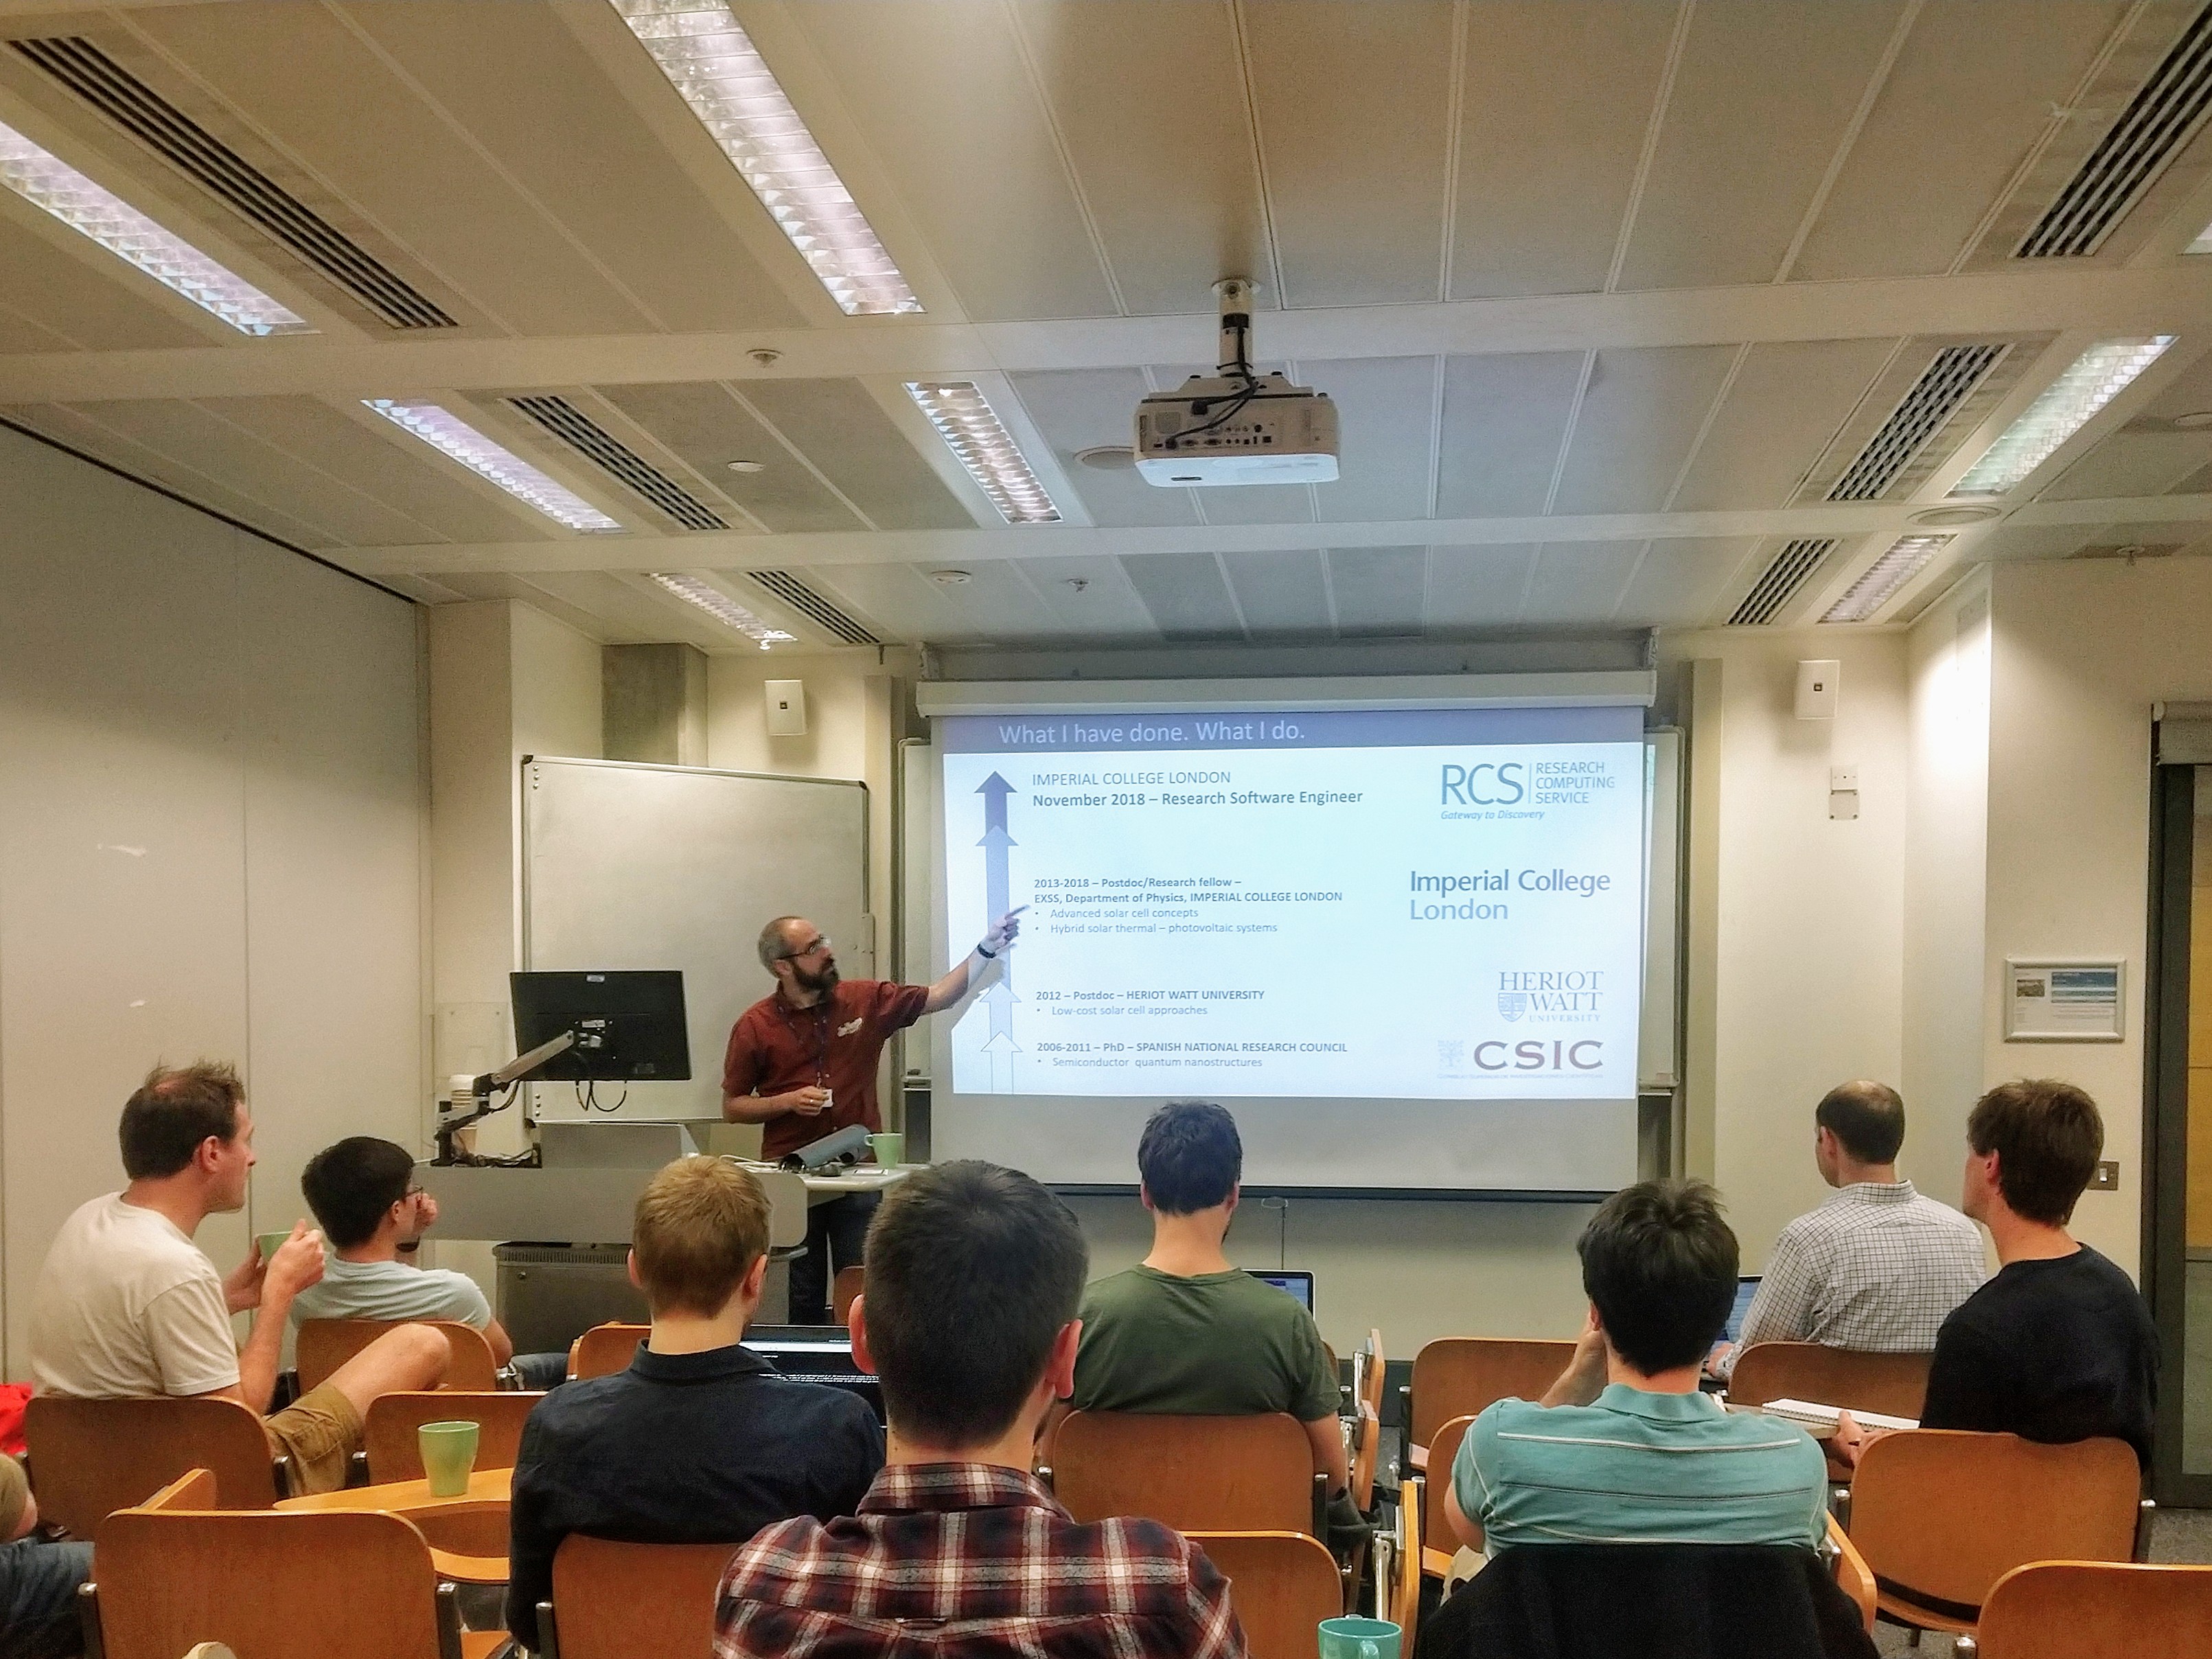
The first Imperial College Research Software in Physics event took place on Friday 17th of May. This event, organised by the Imperial Research Software Community and supported by the College’s ICT department, aimed to help researchers to meet others writing or using research software (RS) in Physics and learn about resources available to help them do so. It gathered around 25 people from all seniority levels and several departments, who shared for over two hours their experiences and opinions on different aspects surrounding the development and use of software for research.

Diego Alonso Álvarez

The event was opened by Diego Alonso Álvarez, a member of the Research Software Engineering team in the Research Computing Service and ex-member of the Physics Department, and Jeremy Cohen, coordinator of the Imperial Research Software Community. Between them they gave an overview of the value of research software (RS), the services available at Imperial to promote software sustainability and good coding practices, and the broader landscape of the RS community in the London area and the UK.

Pat Scott, a lecturer from the Astrophysics group, gave the first of the invited talks, focused on GAMBIT, “a global fitting code for generic Beyond the Standard Model theories” but with potential utility in any other research discipline. Pat highlighted that coding is not an add-on in physics any more but an integral part of it. He also pointed out that while it is important to have good coding practices, increase your user base and publish papers on your code, in the end, in the broader community, you will be judged by your contributions to physics, not software.

The second talk was given by Kelvin Choi, PhD student from the Space & Atmospheric Physics Group, broadly speaking about the challenges involved when working with climate data and models. Among other topics, Kelvin discussed the need to wrap legacy code in more modern languages in order to maintain the traceability and the comparability of the results to those carried out in the 1980s. He also described the need for a pipeline transforming the raw TB of data coming from the satellites to the end results, gluing together different software – often written in different languages – and combining different data formats.

These speakers were followed by 7 lightning talks given by researchers in the department and the Imperial RSE team, including:

  • specific applications of GAMBIT (Janina Renk) and its combination with other tools like TensorFlow to efficiently explore a large parameter space (Benjamin Farmer);
  • the description of custom advanced software for the modelling of the formation of planet-forming discs (Marija Jankovic) or the performance of novel solar cells (Philip Calado);
  • the challenges of dealing with legacy code and data related to the Cassini mission (Gregory Hunt);
  • some of the activities of the RSE team, improving the accessibility of the data from the Cassini mission (Christopher Cave-Ayland) or using the xarray Python package to improve the quality and readability of existing code (Mayeul d’Avezac).

All the talks were very engaging and in several cases sparked discussion points that were adopted for the final part of the event. In the discussion session, the audience was divided into groups around different topics ranging from code peer review and code review practices in the software engineering industry, testing practices and reproducibility or software development models and methodologies within the research community. Dedicated blog posts on the contents on these discussions will follow in due course.

Many thanks to Pat Scott, all the speakers, and everyone who attended the event.

RSLondonSouthEast 2019

Research Software London‘s first annual workshop took place at the Royal Society on February 8, 2019, bringing together a regional community of research software users and developers from over 20 institutions. It featured a diverse schedule of talks and discussions about software engineering, community building and both domain-specific and general-purpose tools of relevance to research.

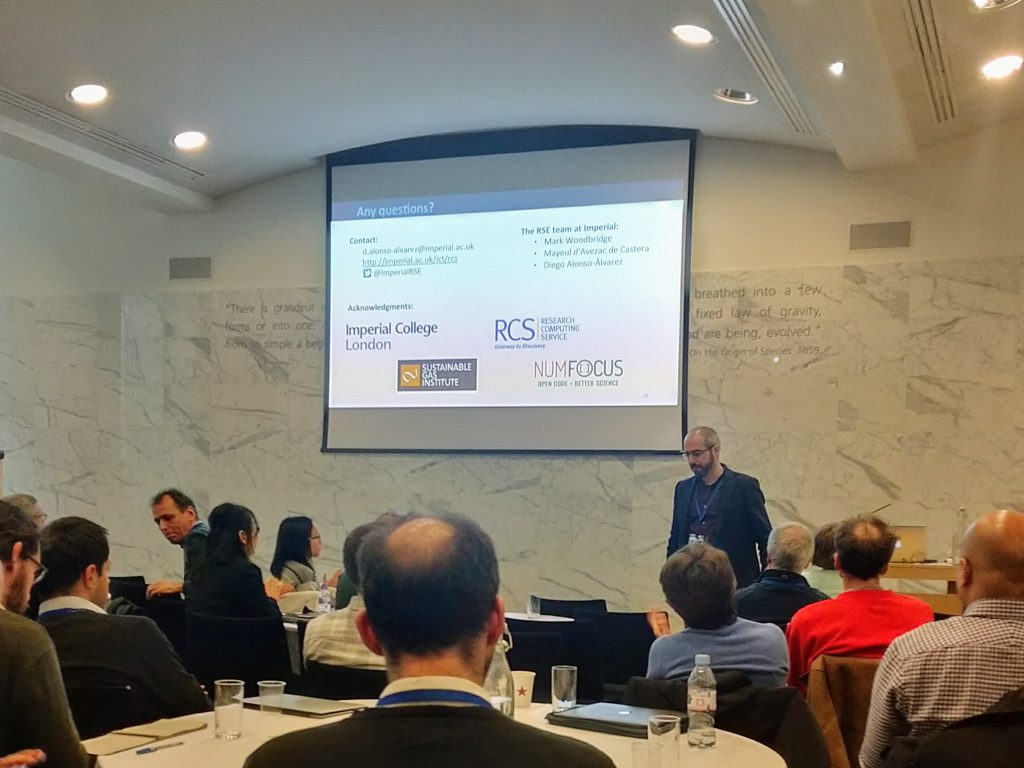
There were four talks from Imperial researchers, including the keynote from Professor Spencer Sherwin, Director of Research Computing. The College’s Research Computing Service was also represented by Dr Diego Alonso Álvarez, who presented an introduction to xarray and described the RSE team’s work on integrating it into the MUSE energy systems model.

Please see Diego’s slides for more information. Other talks and media from the event are available via #rslondonse19.

Thanks to RSLondon, the programme committee and its chair Dr Jeremy Cohen for organising an informative and stimulating day, and to the EPSRC for supporting the event. We’re looking forward to participating in future meetings and helping further strengthen the regional RSE community.

Cloud-first: Serverless alerts for trending repositories

This is the third and final post in a series describing activities funded by our RSE Cloud Computing Award. We are exploring the use of selected Microsoft Azure services to accelerate the delivery of RSE projects via a cloud-first approach.

In our previous two posts we described two ways of deploying web applications to Azure: firstly using a Virtual Machine in place of an on-premise server, and then using the App Service to run a Docker container. The former provides a means of provisioning an arbitrary machine much more rapidly that would traditionally be possible, and the latter gives us a seamless route from development to production – greatly reducing the burden of long-term maintenance and monitoring.

By taking these steps we’ve reduced our unit of deployment from a VM to a container and simplified the provisioning process accordingly. However, building a container, even when automated, incurs an overhead in time and space and the resultant artifact is still one-step removed from our code. Can we do any better – perhaps by simply bundling our code and submitting to a suitable capable runtime – without needing to understand a technology such as Docker?

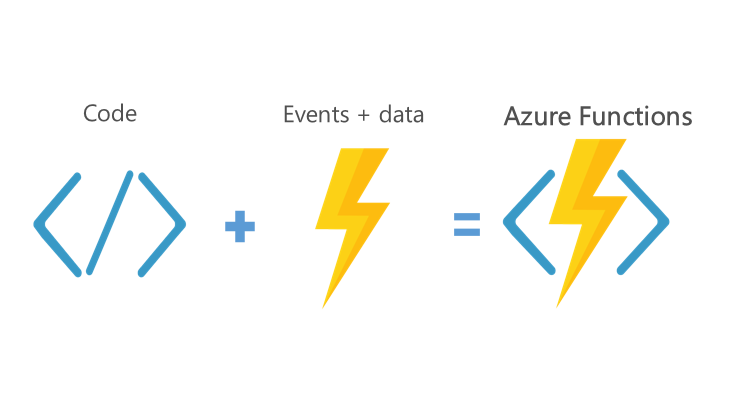
Azure Functions provide a “serverless” compute service that can run code on-demand (i.e. in response to a trigger) without having to explicitly provision infrastructure. There are similarities with the App Service in terms of ease of management, but also some differences: principally that in return for some loss of flexibility in runtime environment you get an even simpler deployment mechanism and potentially much lower usage charges. Your code can be executed in response to a range of events, including webhooks, database triggers, spreadsheet updates or file uploads.In this post we’ll demonstrate how to run deploy a simple scheduled task: a Node.js script that sends a periodic email identifying the most active repositories within a GitHub organisation. It uses the GitHub GraphQL API to get the the latest statistics (stars, forks and commits) and tracks the changes in a database. I use this script to receive weekly updates for trending repositories under ImperialCollegeLondon, but it’s easy to reconfigure for your own organisation.

As previously, we’ll use the Azure Cloud Shell, and arguments that you’ll want to set yourself are highlighted in bold.

Getting started

As usual we first create a resource group, and then add a storage account for our function:

az group create --name myResourceGroup --location westeurope
az storage account create --resource-group myResourceGroup --name ictrendingstore --sku Standard_LRS

Creating our function app

Then we create our app (a container for one or more functions):

az functionapp create --resource-group myResourceGroup --name ictrending --storage-account ictrendingstore --consumption-plan-location westeurope

And upgrade Node.js so that we can use ES6 features including async functions:

az functionapp config appsettings set --resource-group myResourceGroup --name ictrending --settings FUNCTIONS_EXTENSION_VERSION=beta WEBSITE_NODE_DEFAULT_VERSION=8.9.4

Deploying our code

Before we upload our code we configure the runtime with some required configuration (repository name, GitHub token, MongoDB URL and email settings):

az functionapp config appsettings set --resource-group myResourceGroup --name ictrending --settings GITHUB_ACCESS_TOKEN=xxx ORGANISATION=ImperialCollegeLondon MONGO_URL=mongodb://username:password@example.com/db SMTP_URL=smtp://username:password@example.com EMAIL_FROM=from@example.com EMAIL_TO=to@example.com

I’m using Azure’s MongoDB-compatible service (Cosmos DB) but there are many other hosting providers, including MongoDB themselves (Atlas).

We then simply upload a zipped copy of our code, its dependencies, and a trigger configuration (a timer for 8am on Mondays):

curl -LO https://github.com/ImperialCollegeLondon/trending/releases/download/v1.0.0/trending.zip
az functionapp deployment source config-zip ---resource-group myResourceGroup --name ictrending --src trending.zip

You’ll subsequently receive your weekly email on Monday morning, assuming there has been some activity in your chosen organisation!

Inspecting the code reveals that it needs to comply with a (very lightweight) calling convention by exporting a default function and invoking a callback on the provided context, and it needs to be written in one of several supported languages. We uploaded our source as an archive but you can also deploy (and then update) code directly from source control.

Tidying up

As usual you can delete your entire resource group, including your storage account and function by running:

az group delete --name myResourceGroup

Summary

In this post we’ve shown how zipping and uploading your source code can be sufficient to get an app into production. This is all without knowledge of any particular operating system or virtualisation technology, and at very low cost thanks to consumption-based charging and on-demand activation. Whether you choose to deliver your software as a VM, container or source archive will obviously depend on the nature of the application and its usage patterns, but this flexibility provides potentially great productivity gains – not only in deployment but also long-term maintenance. In this instance it’s a great fit for short-lived scheduled tasks but there any a huge number of alternative applications.

We’d like to thank Microsoft Azure for Research and the Software Sustainability Institute for their support of this project.

Cloud-first: Rapid webapp deployment using containers

This is the second in a series of posts describing activities funded by our RSE Cloud Computing Award. We are exploring the use of selected Microsoft Azure services to accelerate the delivery of RSE projects via a cloud-first approach.

In our previous post we described the deployment of a fairly typical web application to the cloud, using an Azure Virtual Machine in place of an on-premise server. Such VMs offer familiarity and a great deal of flexibility, but require initial provisioning followed by ongoing maintenance and monitoring. Our team at Imperial College is increasingly using containers to package applications and their dependencies, using Docker images as our unit of deployment. Can we do better than provisioning servers on a case-by-case basis to get web applications into production, and thereby more rapidly deliver services to our users?

The Azure App Service provides a solution named Web App for Containers, which essentially allows you to deploy a container directly without provisioning a VM. It handles updates to the underlying OS, load balancing and scaling. In this post we’ll demonstrate how to run pre-built and custom Docker images on Azure, without having to manually configure any OS or container runtime. As previously, we’ll use the Azure Cloud Shell, and arguments that you’ll want to set yourself are highlighted in bold.

Getting started

First of all we create an App Service plan. This only needs to be performed once for your active subscription:

az group create --name myResourceGroup --location "West Europe"
az appservice plan create --name myAppServicePlan --resource-group myResourceGroup --sku S1 --is-linux

Deploying a pre-built, public container image

It’s then just one command to run a Docker container. In this case we’ll deploy Nginx using its Docker Hub image:

az webapp create --resource-group myResourceGroup --plan myAppServicePlan --name ic-nginx --deployment-container-image-name nginx

We can then visit our public site at https://ic-nginx.azurewebsites.net/

You can use a custom DNS name by following these further instructions. Note that the site automatically has HTTPS enabled.

Decommissioning the webapp (thereby avoiding any further charges) is similarly straightforward:

az webapp delete --resource-group myResourceGroup --name ic-nginx

Deploying a custom container image

Running your own app is as simple as providing a valid container identifier to az webapp create.  This can point to either a public or private image on Docker Hub or any other container registry, including Azure’s native registry.

For demonstration purposes we’ll build a Datasette image to publish the UK responses from the 2017 RSE Survey. Datasette is a great tool for automatically converting an SQLite database to a public website, providing not only a means to browse and query the data (including query bookmarking) but also an API for programmatic access to the underyling data. It has a sister tool, csvs-to-sqlite, that takes CSV files and produces a suitable SQLite file.

First we need to install both tools, download the survey data, and convert it from CSV to SQLite:

pip install https://github.com/simonw/csvs-to-sqlite/zipball/master datasette
curl -O https://raw.githubusercontent.com/softwaresaved/international-survey/master/analysis/2017/uk/data/cleaned_data.csv
csvs-to-sqlite --table responses cleaned_data.csv uk-rse-survey-2017.db

Then we can create a Docker image containing the data and the Datasette app with one command, annotating with the appropriate licence information:

datasette package uk-rse-survey-2017.db
--tag mwoodbri/uk-rse-survey:2017
--title "UK RSE Survey (2017)"
--license "Attribution 2.5 UK: Scotland (CC BY 2.5 SCOTLAND)"
--license_url "https://creativecommons.org/licenses/by/2.5/scotland/deed.en_GB"
--source "The University of Edinburgh on behalf of the Software Sustainability Institute"
--source_url "https://github.com/softwaresaved/international-survey"

Then we push the image to Docker Hub:

docker push mwoodbri/uk-rse-survey:2017

And, as previously, create an Azure Web App:

az webapp create --resource-group myResourceGroup --plan myAppServicePlan --name rse-survey --deployment-container-image-name mwoodbri/uk-rse-survey:2017

Using Datasette

After a brief delay the app is publicly available: https://rse-survey.azurewebsites.net/

Note that the App Service automatically detects the right port to expose (8001 in this case) and maps it to port 80.

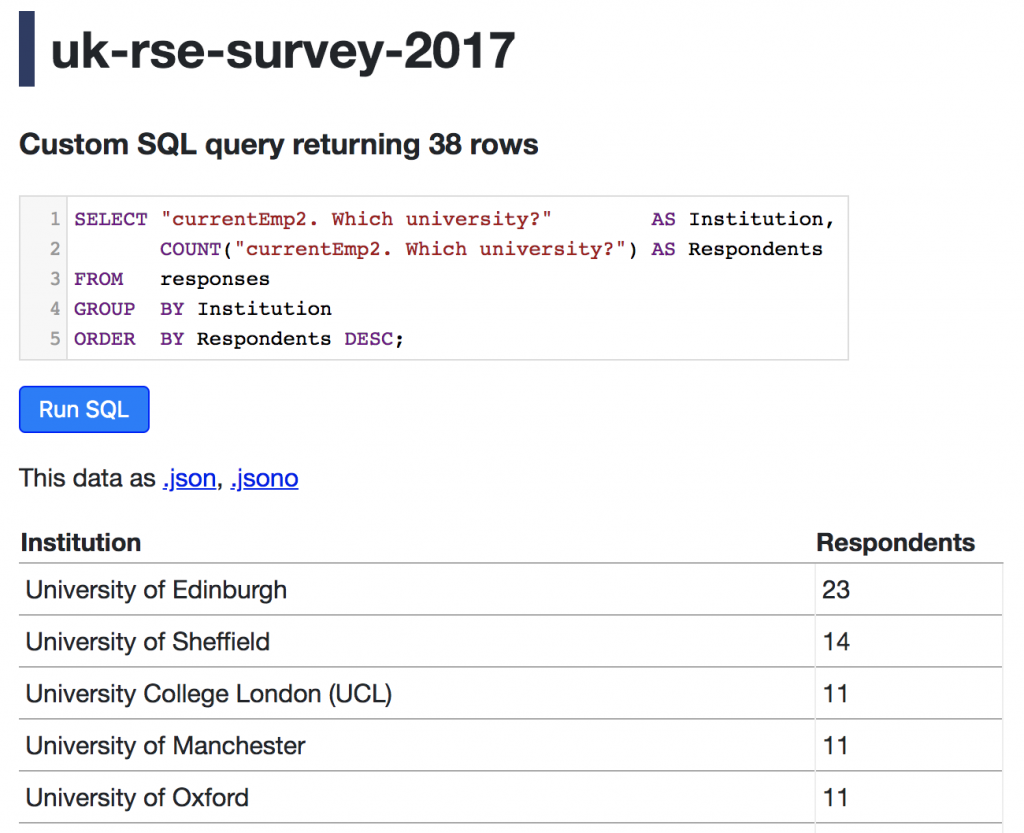
Datasette enables you to run and bookmark SQL queries, for example this query which lists the contributors’ organisations in order of the number of responses received:
Private registries

If you’re hosting your images on a publicly accessible that requires authentication then you can use the previous az webapp create command into two steps: one to create the app and then to assign the relevant image. In this case we’ll use the Azure Container Registry but this approach is compatible with any Docker Hub compatible registry.

First we’ll provision a container registry. These steps are unnecessary if you already have one:

az acr create --name myrepo --resource-group myResourceGroup --sku Basic --admin-enabled true
az acr credential show --name myrepo

Then we can login to our private registry and push our appropriately tagged image:

docker login myrepo.azurecr.io --username username

docker push myrepo.azurecr.io/uk-rse-survey:2017

Finally we can create our webapp and configure it to be created using the image from our private registry:

az webapp create --resource-group myResourceGroup --plan myAppServicePlan --name rse-survey
az webapp config container set --resource-group myResourceGroup --name rse-survey --docker-custom-image-name myrepo.azurecr.io/rse-survey --docker-registry-server-url https://myrepo.azurecr.io --docker-registry-server-user username --docker-registry-server-password password

The end result should be exactly the same as when using the same image but from the public registry.

Tidying up

As usual, you can delete your entire resource group, including your App Service plan, registry (if created) and webapps by running:

az group delete --name myResourceGroup

Summary

In this post we’ve demonstrated how a Docker image can be run on Azure using one command, and how to build an deploy a simple app that presents a simple interface to explore data provided in CSV format. We’ve also shown how to use images from private registries.

This approach is ideal for deploying self-contained apps, but doesn’t present an immediate solution for orchestrating more complex, multi-container applications. We’ll revisit this in a subsequent post.

Many thanks to the Software Sustainability Institute for curating and sharing the the RSE survey data (reused under CC BY 2.5 SCOTLAND) and Simon Willison for Datasette.

Cloud-first: Simple automated testing using Drone

This is the first in a series of posts describing activities funded by our RSE Cloud Computing Award. We are exploring the use of selected Microsoft Azure services to accelerate the delivery of RSE projects via a cloud-first approach.

A great way to explore an unfamiliar cloud platform is to deploy a familiar tool and compare the process with that used for an on-premise installation. In this case we’ll set up an open source continuous delivery system (Drone) to carry out automated testing of a simple Python project hosted on GitHub. Drone is not as capable or flexible as alternatives like Jenkins (which we’ll consider in a subsequent post) but it’s a lot simpler and a suitable example of a self-contained webapp for our purposes of getting started with Azure.

We’ll be automatically testing this repository, containing a trivial Python 3 project with a single test which can be run via python -m unittest.  We add a single YAML file to the repository to configure Drone accordingly.

There are then just three (short!) steps to get Drone testing the repository whenever code is pushed to GitHub. You don’t need anything except a web browser and an Azure account:

1: Create an Azure VM where we’ll install Drone

You can do this via the Azure Portal but we’ll use the new Azure Cloud Shell as it’s quicker – and easier to document, which is important for reproducibility. Drone is distributed as a Docker image so we’ll provision a minimal Container Linux VM to host it. We need to create a resource group, add the VM, give it a public DNS name (you will need to choose your own, instead of my-ci-server) and enable HTTP(S) access:

az group create -l westeurope --name my-rg
az vm create --name my-ci-server --resource-group my-rg --image CoreOS:CoreOS:Stable:1632.2.1 --generate-ssh-keys --size Basic_A0
az network public-ip update --name my-ci-serverPublicIP --resource-group my-rg --dns-name my-ci-server
az network nsg rule create --resource-group my-rg --nsg-name my-ci-serverNSG --name HTTP --destination-port-ranges 80 --priority 1010
az network nsg rule create --resource-group my-rg --nsg-name my-ci-serverNSG --name HTTPS --destination-port-ranges 443 --priority 1020

2: Register a new OAuth application in GitHub

In order to provide Drone with access to the repository (or repositories) we want to test, visit this page and enter the following, replacing the hostname appropriately:

  • Application name: Drone
  • Homepage URL: https://my-ci-server.westeurope.cloudapp.azure.com
  • Authorization callback URL: https://my-ci-server.westeurope.cloudapp.azure.com/authorize

Save the Client ID and Client Secret for the next step

3: Install and configure Drone

Run the following commands back in the Cloud Shell. You again need to replace the hostname, and also provide your GitHub username and the Client ID and Secret from the previous step.

ssh my-ci-server.westeurope.cloudapp.azure.com
sudo docker run -d --name drone-server -e DRONE_HOST=https://my-ci-server.westeurope.cloudapp.azure.com -e DRONE_ADMIN=mwoodbri -e DRONE_GITHUB=true -e DRONE_GITHUB_CLIENT=xxxxxxxxxxxxxxxxxxxx -e DRONE_GITHUB_SECRET=xxxxxxxxxxxxxxxxxxxxxxxxxxxxxxxxxxxxxxxx -e DRONE_LETS_ENCRYPT=true -v drone:/var/lib/drone/ -p 80:80 -p 443:443 --restart=unless-stopped drone/drone
sudo docker run -d --name drone-agent --link drone-server -e DRONE_SERVER=drone-server:9000 -v /var/run/docker.sock:/var/run/docker.sock --restart=unless-stopped drone/agent

Then visit https://my-ci-server.westeurope.cloudapp.azure.com and toggle the switch next to the name of the relevant repository.

Next steps

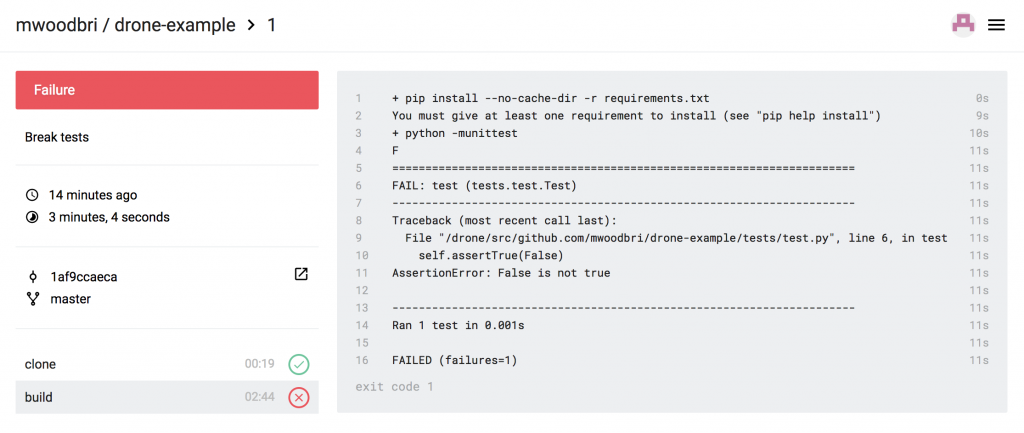
Drone is now monitoring the code for changes, and will run the test suite in response. If we deliberately break our unit test by making this change and pushing the code then Drone will immediately run the code and identify a problem:

It will also annotate the commit as bad and provide us with a badge that can be dynamically embedded in our README.md.

We can then go onto configure Drone to notify us via email, Slack etc of failures using one of its many plugins.

Summary

We’ve seen how various features of the Azure platform, including Virtual Machines, Cloud Shell, and the extensive Marketplace can be combined with GitHub and Drone to rapidly deploy a secure, private CI system entirely from your browser. There exist alternative means of achieving the same result – not least various hosted, subscription based systems – and there are Azure recipes for Jenkins and Drone itself. However, the approach demonstrated here is applicable to any container-based software and therefore provides a flexible and efficient means of at least prototyping new services – via a cloud-first strategy.


The Case for Research Software Engineers

Academic research is increasingly digital, dependent on software tools for the data collection, analysis and visualisation underpinning modern scientific investigation. Software reliability and correctness is therefore essential for reproducible research regardless of the field of study. Successful production of such software requires specialist expertise such as that provided by Research Software Engineers: dedicated, professional developers who understand the particular requirements of scientific research.

Employing a specialist RSE can provide the following benefits:

  • Suitably trained and experienced software engineers typically produce more reliable code than self-taught or part-time programmers, contributing to research correctness and reproducibility
  • Specialist engineers can be expected to develop code that is well-structured and that follows current best-practice. Such software is more sustainable – being easier to develop, enhance and even commercialise. It also tends to be more reusable and attract a broader community of contributors.
  • RSEs are able to re-use relevant knowledge and tools, resulting in faster, more efficient software development
  • Developers who are well-versed in supporting research are aware of how to write performant software that scales appropriately. This is essential in order to accelerate the research process.

Centralising RSEs in a specialised, cross-functional team offers further advantages:

  • A centrally-contracted RSE can typically be engaged on a flexible basis i.e. part-time or at relatively short notice. This avoids both the need to employ a dedicated member of staff for work that doesn’t require an FTE, and the lengthly and challenging process of recruiting (and supervising) a specialist working a distinct, specialised discipline.
  • A central RSE team can provide long-term continuity as a result of shared skills and knowledge. The loss of a PDRA who is responsible for a particular piece of software often leads to issues with long-term maintenance and usability.
  • An RSE team member will typically be surrounded by specialists who can offer complementary advice and skills (such as high performance computing) which will further benefit data-intensive projects
  • RSE teams will normally have access to software development infrastructure unavailable to typical research groups. This includes secure source code repositories and automated QA systems which contribute to quality and durability.
  • Software project management is itself a specialist skill. Procuring software development services from a centralised team will typically include some degree of oversight and supervision that would otherwise have to be factored into a PI’s schedule.

There is an emerging consensus that better software produces better research, and funders are recognising that dedicated RSEs are best placed to deliver high-quality, sustainable software. Successful centralised RSE services exist at several research-intensive universities including Manchester, UCL and Southampton. Imperial College’s Research Software Engineering Team has been established to provide similar expertise to any project needing support or assistance with software development. Please use the contact details on our webpage to find out more or propose a collaboration.

For more information about the role of RSEs please see the recent State of the Nation Report for Research Software Engineers.

Imperial College’s new RSE service

This blog post marks the establishment of a new Research Software Engineering (RSE) service at Imperial College London.

The Imperial College RSE service mirrors similar initiatives at other research-intensive universities and complements the College’s existing HPC provision with specialist software development expertise.

The team will be blogging here about both technical and non-technical issues related to developing software to support research. You can visit our homepage or follow us on Twitter for more information. We’d love to hear from you!