Office 365 is an amazing set of tools and it makes it very easy to share and collaborate on documents, BUT do you know with whom you are sharing a file?
We usually use a user’s email address or look them up in the address book by typing their name, but what happens when you have multiple people with similar names?
Here at Imperial we’d suggest that adding a photo to your profile will really help you and your colleagues to connect successfully. Your profile photo is only visible within College, so external users won’t see your profile photo. Having a profile photo on your account can really help avoid those “oops, I sent it to the wrong person” type errors.
How do I set or update a Profile Picture?
- Log in to https://office.imperial.ac.uk using your username and password and MFA if required.
- Click on the icon at the top right where your initials (or current picture are visible)

- Hover over the initials or icon and a camera image will appear – click on this to bring up a Change or Upload picture window (if you have pop ups turned off in your web browser then you will
need to allow these before you can change your profile picture).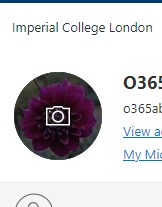
- Choose to upload a picture – select your profile picture using the file explorer window and click open to upload the picture.
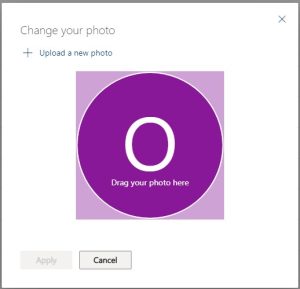
- Use the zoom controls and the cursor to move the picture so that it is centred in the frame
- Click Apply – the new picture will be applied
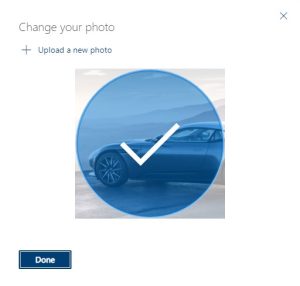
- Click Done – and see your new profile picture against your account.

What “rules” apply to Profile Pictures?
Imperial ICT recommends that your profile picture should be a genuine likeness of you.
College has professional profile photo shoots held at different campuses throughout the year (see Staff photoshoot | Administration and support services | Imperial College London for details), or you could just ask a colleague to take a photo for you on your phone and then upload that.