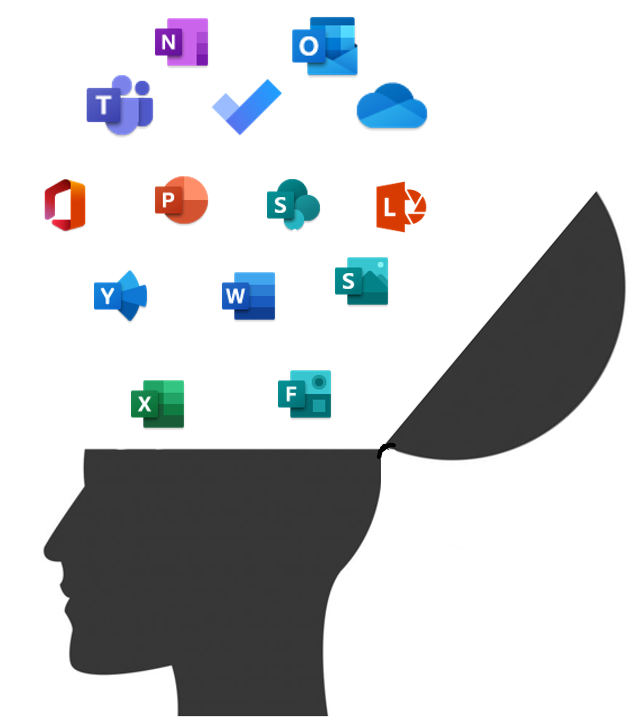
The Microsoft 365 suite contains many powerful tools and services. SharePoint is the most fundamental in delivering storage to support almost all these services.
SharePoint can, however, be confusing so in this blog post we’ll aim to try and clear up some of the confusion.
If you take only one thing from reading this post it should be this …
-
- One Drive for Business is for Personal file storage.
- SharePoint is for group files.
- SharePoint is for much more than just storing group files.
So let’s dig into this a bit more …
1. Fundamentals.
SharePoint is NOT just another file share (or the place where your group files are going to be moved to)! SharePoint contains many useful elements and for some it is the versatile swiss army knife of collaboration.
A SharePoint site can not only deliver file storage so that you and your work group, department or faculty can work together on files. It can also deliver pages of information, news, and act as a landing page for your team where they can discover what’s happening and see updated information.
For this to work, you are going to need to understand some other concepts and have people who are prepared to manage and update the site and pages.
2. OneDrive for Business vs SharePoint.
As already stated, OneDrive for Business (ODfB) is for personal file storage. ODfB is NOT for long term sharing or storage of group files.
You can see our One Drive for Business Basics blog here.
SharePoint is the place for Group files and group working.
3. What’s a Site, a Page, a Document Library and a Web Part?
SharePoint Site – is the collection of pages, documents and information delivered as a managed area where you can set specific access rights for a group of users.
Page – is a webpage in the SharePoint site. You can deliver information and dynamic access using “web parts”. A web part is a function which can help you to show information such as a time in a different location, weather or a collection of files or other useful elements.
Document Library – this is a storage space where you can group files and then grant access to a group of people to the whole library. So for example you might want to include different sets of useful information or files into a discreet document library – e.g. finance files in a separate document library from HR files or work instructions, or maybe you want a more easily accessible video library of meeting recordings or training videos.
Web Part – this is a small piece of pre-written code that is built to work on a SharePoint page to allow you to deliver some specific information.
4. Security in SharePoint
When a SharePoint site is created it comes with three default groups – the Owners, Members and Visitors groups.
Owners – these are the people responsible for the maintenance and upkeep of the site. They have the ability to add people to the other groups (Members and Visitors), create new groups and add people to those groups, change the access controls and generally have a large range of controls.
Members – these are the regular collaborating users in the group / department / faculty. They generally have edit access to the site so can potentially add and update new pages, add, edit and delete files from document libraries and see what is in the site.
Visitors – the people added to the visitors group usually have “read only” permission – so they can read pages of information and view files within the document library, but they can’t edit the files.
So the default permissions are …
Site Owners = Full Control
Site Members = Edit
Site Visitors = Read
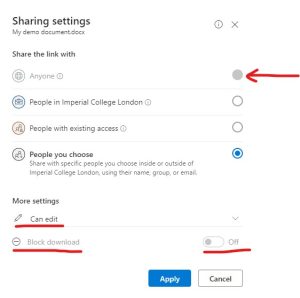
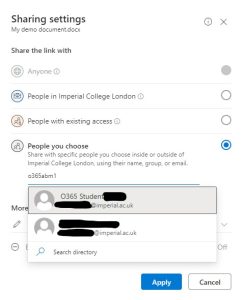
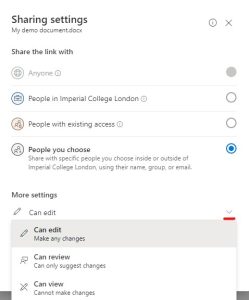
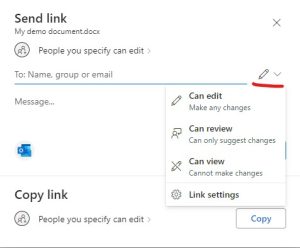
It is possible to change the access for a page or a file so that a restricted set of people have access, or to grant additional people access to a resource within the SharePoint site.
The other permissions that can commonly be granted to users or groups of users are as follows:
Full Control – Has full control
Design – Can view, add, update, delete, approve, and customize
Edit – Can add, edit and delete lists; can view, add, update and delete list items and documents
Contribute – Can view, add, update, and delete list items and documents
Read – Can view pages and list items and download documents
View – Can view pages, list items, and documents but not download
NOTE the difference between Read and View – a user with view access cannot download a document but someone with Read access can!
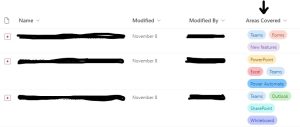
5. Metadata
Metadata is a means of filtering or refining a data set. So in SharePoint that might be a list of recordings, but with metadata you can filter based on the subject covered, etc. In the exaple shown below we have added a column to contain metadata about the subjects covered in some videos.
6. Syncing
The simple rule here is … DON’T Sync SharePoint libraries.
SharePoint document libraries are generally VERY large. When you sync a document library (or add a shortcut to OneDrive for Business) then the library or shortcut linked area get synced using the OneDrive for Business sync client.
If you have a whole department’s or research group’s files in a SharePoint document library then you also run the risk of accidental deletion and potentially then not being able to recover files.
As an example, after syncing just 35,000 files from a library containing 230,000 files, it took over 2 hours to “un-sync” the library! That’s on a VERY fast (1.2Gbps) fibre optic internet connection with zero contention.
Microsoft’sown documentation has limits and guidance on the total number of files that you should sync across One Drive for Business and synced SharePoint libraries (your “sync set”). Many SharePoint libraries would breach this recommendation in their own right, let alone as part of a larger “sync set”.
Imperial ICT do NOT recommend syncing of SharePoint document libraries and in fact on many SharePoint sites the functionality is disabled to prevent offline file storage (synced files).
Read SharePoint – Essentials in full